
BLOG
Our blog will feature our Healthy Lifestyle article on Ang Peryodiko Newspaper: Rehab and Exercise Tips. This will also be a guide to our Rehab and Therapy clients.
|
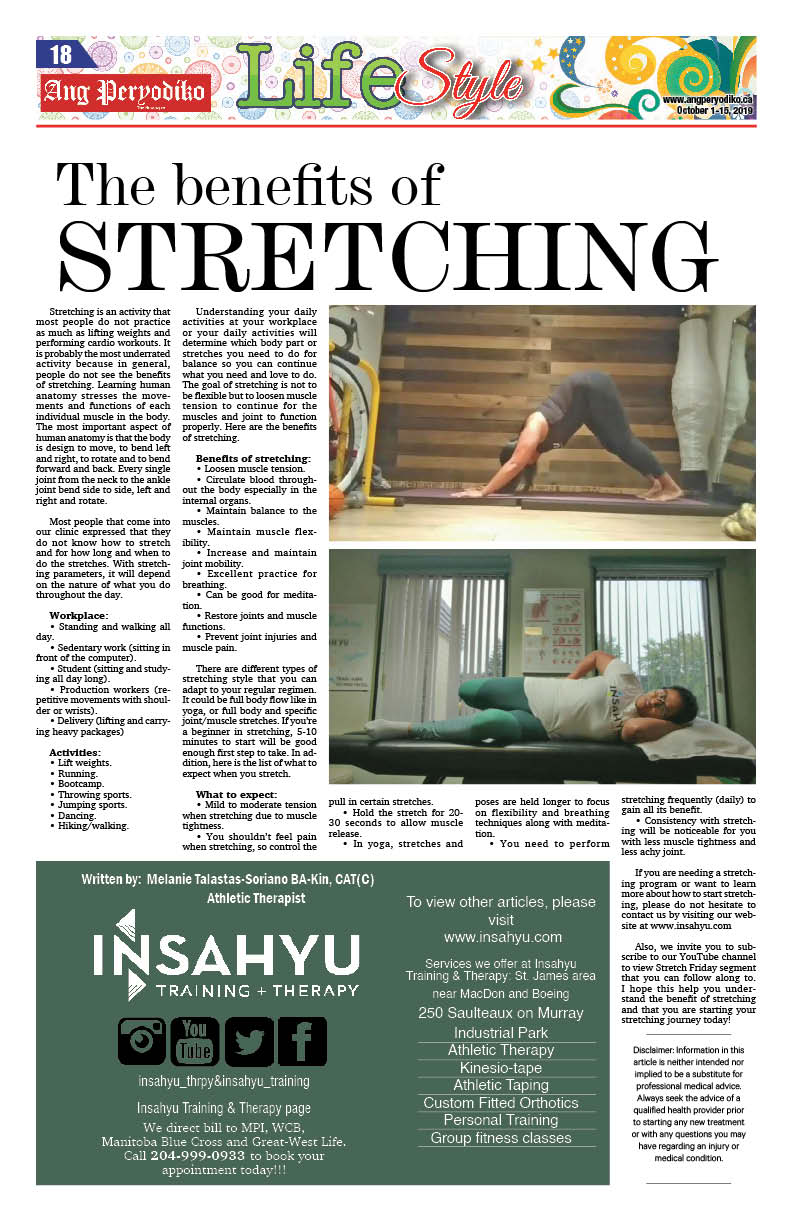
10/2/2019 0 Comments The benefits of stretchingWritten by: Melanie Talastas-Soriano BA-Kin, CAT(C) Athletic Therapist 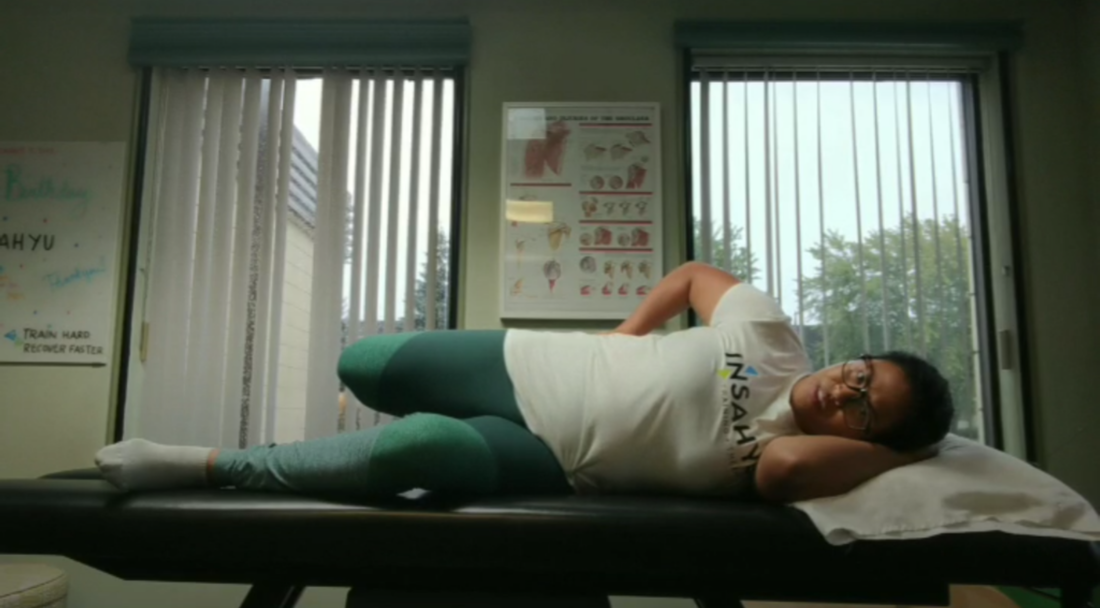 Stretching is an activity that most people do not practice as much as lifting weights and performing cardio workouts. It is probably the most underrated activity because in general, people do not see the benefits of stretching. Learning human anatomy stresses the movements and functions of each individual muscle in the body. The most important aspect of human anatomy is that the body is design to move, to bend left and right, to rotate and to bend forward and back. Every single joint from the neck to the ankle joint bend side to side, left and right and rotate. Most people that come into our clinic expressed that they do not know how to stretch and for how long and when to do the stretches. With stretching parameters, it will depend on the nature of what you do throughout the day. Workplace:
Activities:
Understanding your daily activities at your workplace or home will determine which body part or stretches you need to do for balance so you can continue doing what you need and love to do. The goal of stretching is not to be flexible but to loosen muscle tension so your muscles and joints continue to function properly. Benefits of stretching:There are different types of stretching style that you can adapt to your regular regimen. It could be full body flow like in yoga, or full body and specific joint/muscle stretches. If you’re a beginner in stretching, 5-10 minutes to start will be a good enough first step to take. In addition, here is a list of what to expect when you stretch. 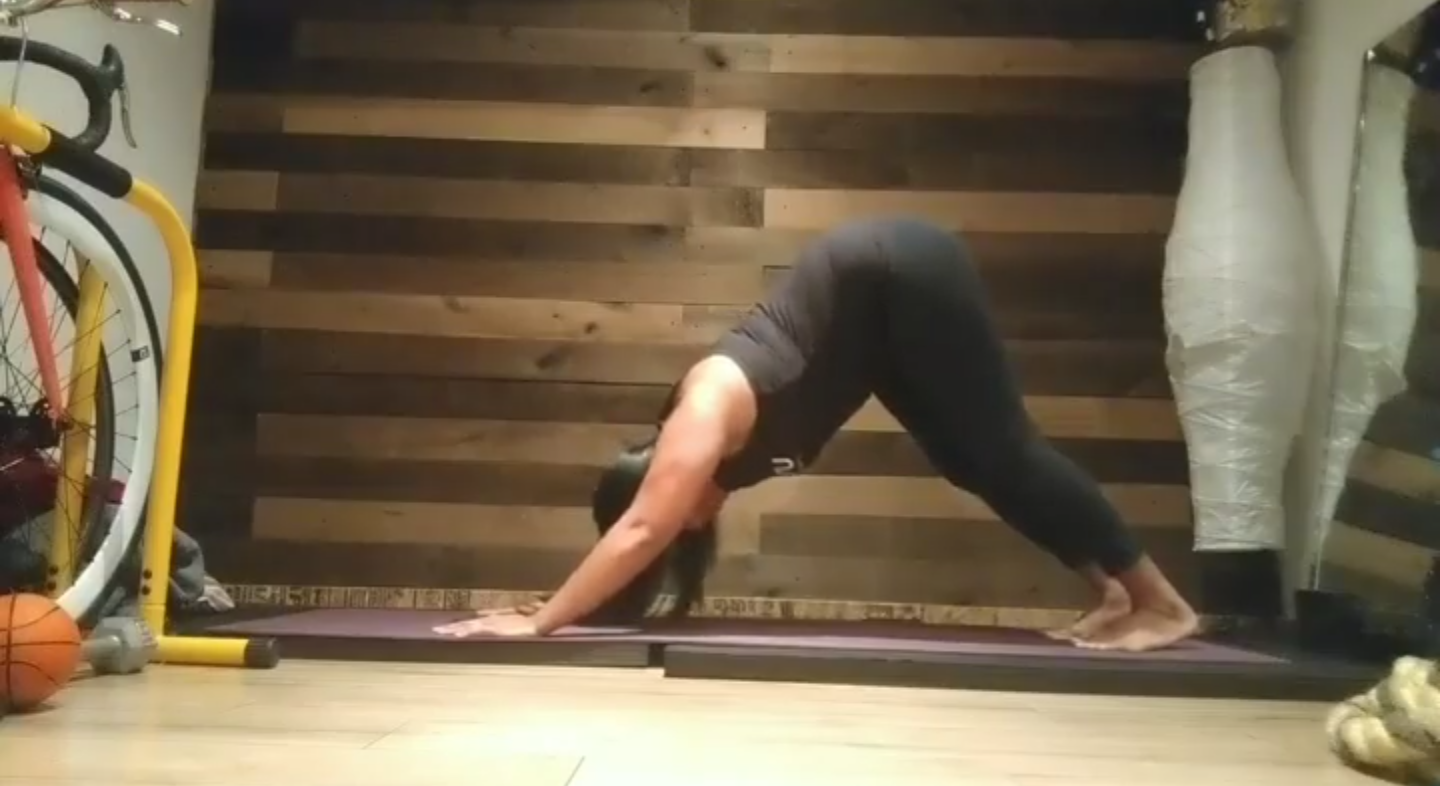 What to expect:
If you are needing a stretching program or want to learn more about how to start stretching, please do not hesitate to contact us. Also, we invite you to subscribe to our YouTube channel where you can find our Stretch Friday segments that you can follow along to. I hope this helps you understand the benefit of stretching and that you are starting your stretching journey today!
0 Comments
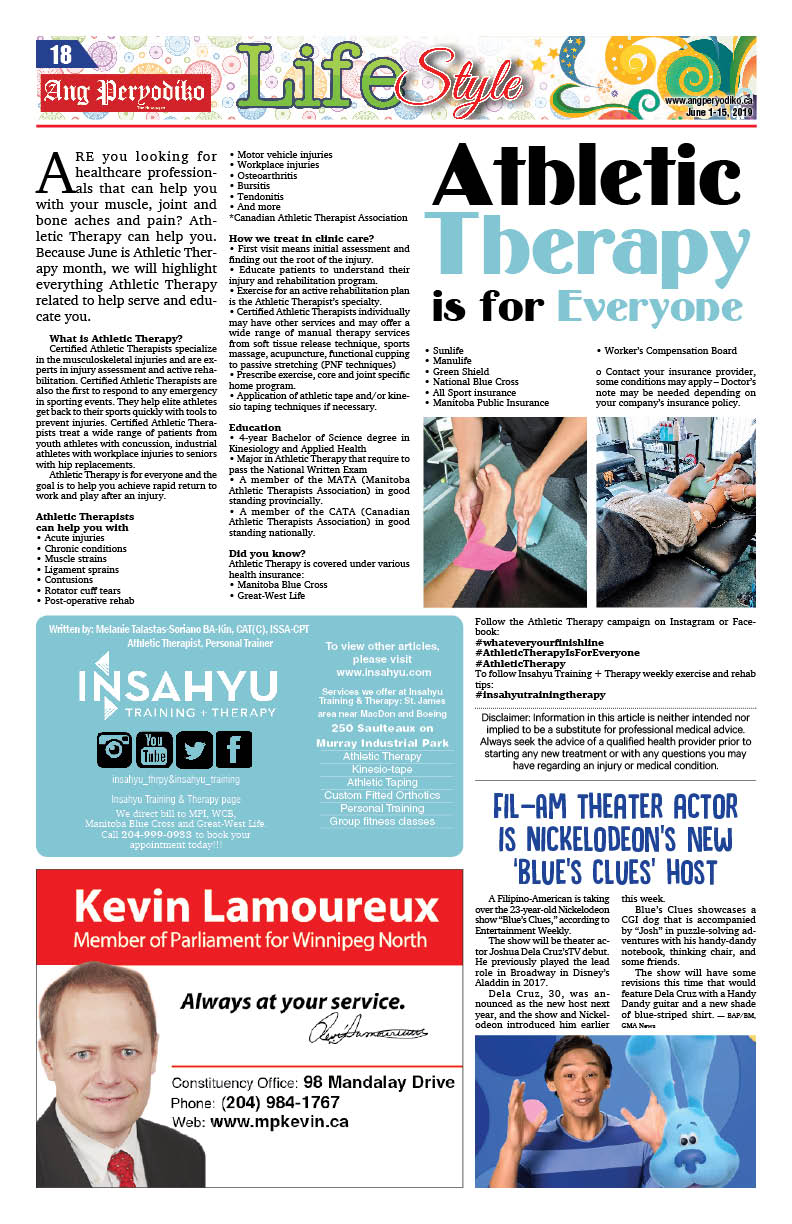
Written by: Melanie Talastas-Soriano BA-Kin, CAT(C), ISSA-CPT Athletic Therapist, Personal Trainer Are you looking for health care professionals that can help you with your muscle, joint and bone aches and pain? Athletic Therapy can help you. Because June is National Athletic Therapy month, we will highlight everything Athletic Therapy related to help serve and educate you. What is Athletic Therapy? Certified Athletic Therapists specialized in the musculo-skeletal injuries and experts in injury assessment and active rehabilitation. Certified Athletic Therapists are also the first to respond to any emergency in sporting events. They help elite athletes get back to their sports quickly with tools in prevention of their injuries. Certified Athletic Therapists treat a wide-range of patients from youth athletes with concussion, industrial athletes with workplace injuries to seniors with hip replacements. Athletic Therapy is for everyone and the goal is to help you achieve rapid return to work and play after an injury. Athletic Therapists can help you with
How we treat in clinic care?
Education
Did you know? Athletic Therapy is covered under various health insurance:
 Written by: Taylor Post CAT(C) Certified Athletic Therapist Mini Bands have recently gained popularity in the fitness world due to their versatility and effectiveness to build both strength and stability. Made of wide, flat elastic formed in to small loops, mini bands usually. They usually come in packs of 3-5 loops, with different resistances represented with individual colours. They are also inexpensive and extremely portable, making them a great way to workout at home or while traveling. Your local gym may also have a set as part of their equipment available for you to use. Whether you are new to working out or have wanted to try adding mini bands into your regular fitness program, here are some exercises to help get you started: 1. Mini Band Squat Place the mini band around legs (just above your knees) and then step into your squat position (feet approximately shoulder width apart). For comfort, the band should be flat against your legs. To initiate the squat, press your butt back and sit down until your thighs are parallel to the ground. Be sure to keep your weight in your heels (can wiggle your toes) and your chest up nice and tall. Push out against the band and do not let your knees collapse in as you squat down. Finally drive back up through your heels and return to a standing position. Repeat 3 sets of 10-20 repetitions. 2. Lateral Walk Place the band just above each ankle and wrapped around both legs. Again, make sure the band is flat, not bunched. Start with your feet shoulder width apart and your knees bent slightly. Keeping your core tight, step left with your left leg. Then follow with your right leg, but try to avoid bringing your feet together—you want to keep some tension on the band. Continue walking left, one foot at a time, moving slowly and maintain the half-squat position (low and controlled). After travelling 10-15 steps (or another pre-determined distance), switch so that you are leading with the other leg. 3. Banded Knee Drive Start by standing with the band around both legs at ankle height. Drive your right knee up as if you are going to sprint forward, bringing your left hand up for added power. Your right hand will naturally drop back to keep your balance. Pause at the top of the movement before bringing your foot back down. Focus on maintaining a square and balanced stance throughout the movement. You can either repeat 10-15 repetitions using the same leg, and then switch. Or perform 20-30 alternating knee drives. Try and complete 3 sets. 4. Glute Bridge Begin by lying face up on the floor, with knees bent and feet flat on the ground. Place your mini band around your thighs, just above your knees. Keep your arms at your side with palms down. Lift your hips off the ground until your knees, hips and shoulders form a straight line. As you lift press your knees out against the resistance of the band. Squeeze those glutes hard and keep your abs drawn in so you don’t overextend your back during the exercise. Pause at the top of the movement before lowering yourself back down to the starting position. Repeat 3 sets of 10-15 repetitions. 5. Bicycle Crunch For this exercise you will have the mini band around your feet. While lying face up, position your hips and knees flexed at ninety degrees so that your lower legs are parallel to the floor. Next, place your fingers on the sides of your forehead. Lift your shoulders off the floor and hold them there, this will help engage your abdominal muscles. Twist your upper body to the right as you pull your right knee in until it touches your left elbow. Simultaneously straighten your left leg. Return to the starting position and repeat to the opposite side. Remember to keep the movement slow and controlled. Aim for 3 sets of 20-30 repetitions (10-20 per side). 6. Triceps Extension Start by holding one end of the band in each hand. Next anchor your left hand (and the band) in the centre of your chest. Make a fist with your right hand and then bend your right elbow to ninety degrees. Slowly press your right hand toward the floor, fully extending your elbow and squeezing through your triceps. Pause, and then reverse the move. Make sure to stand tall, keep your shoulders back and bend your knees slightly to activate your core. Perform 10-15 reps on each arm, for 3 rounds. 7. Banded Push Ups Adding a mini band during a push up is a great way to challenge the stability of the movement. Place the band around both arms, just above the wrist. Get yourself into a high plank position, with your hands under your shoulders and abs tight. Your legs should be extended straight out behind you, with your weight in the balls of your feet. Splay your fingertips and keep your hands far enough apart to keep tension on the band. Keep your core tight and your glutes engaged as you lower down until your chest touches the ground. Then press back up to return to the start position. If you are not strong enough to do a full push-up, lower yourself down to the floor slowly but then use your knees to push yourself back up. Complete 3 sets of 10 repetitions. 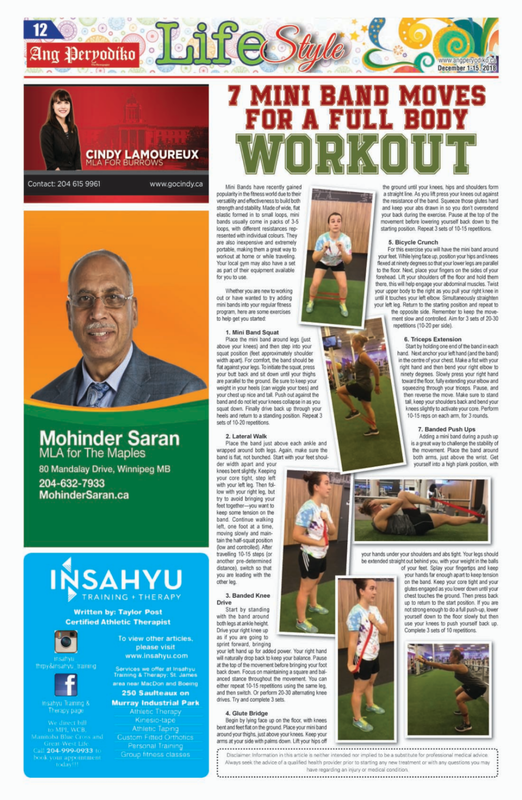 |
AuthorTeam Insahyu: Certified Athletic Therapists. CategoriesAll Anatomy Arms Athletic Tape Athletic Therapy Back Pain Conditions Elbows Exercises Healthy Lifestyle Hips Knees Orthotics Pregnancy Rehab Tips Running Shoulders Stretching Tips Treatments Winter Wrists |
 RSS Feed